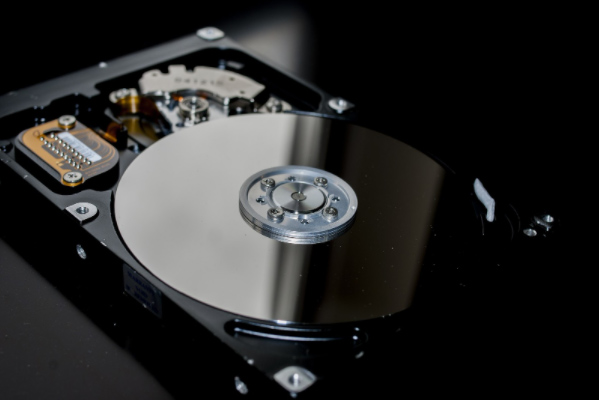
The lack of drive space is one of the most common problems among Macbook owners.
It also does not help that Macs come with solid-state drives instead of hard drives. While the former offers better overall performance, it has less storage.
The less free space there is on the Macbook’s drive, the bigger your problems will be. And this link between having only a few gigabytes of free space and a poor Mac performance becomes apparent quite fast.
Do not expect the problem to disappear on its own. You need to take a proactive approach and keep tabs on the well-being of your computer’s drive.
In case you lack the necessary experience to manage the problem yourself, make use of the information in this article. Take the steps mentioned below, and you should free up the computer’s drive space.
Step #1 – Remember to Remove Files Permanently
It is necessary to remember that you do not remove files from a Macbook permanently by just dragging them in the Trash Bin. No, if you do that, they will remain on the computer.
At the very least, enable the feature to automatically remove files from the Bin after 30 days if you do not want to click the “empty” button every time.
You could also try a different strategy. Option + Command + Delete keyboard shortcut will remove a file from the Macbook permanently.
Step #2 – Get Rid of Temporary Junk Data

You need to remove the temporary system junk like app plugins, extensions, and system backups for two reasons.
Besides freeing up disk space, you will also leave fewer files for the computer system to process, thus improving the overall Mac performance.
Sticking to manual removal of temporary data is one choice. However, you would be better off getting a cleanup utility tool that deletes unwanted temporary files for you. This way, you will save time.
Step #3 – Delete Unnecessary Apps
Not all apps take that much space, but if you are planning to free up the hard drive, then do not hesitate and remove applications you no longer need. If nothing else, you can download and install them later in case you need to use one.
Step #4 – Check for Potential Language Pack Support Files
Some apps and software come with support for language pack files that are more or less useless. For the most part, people need only the English version and maybe another language that they are fluent in. But the other 50 or even more languages are unnecessary.
Look through the folders of the applications you have installed. If you find redundant language pack data, do not hesitate and remove it.
Step #5 – Keep Tabs on Downloads and Email Attachments
Some people change the default download and email attachment directory to their desktops.
This way, it is easier to spot files that you have downloaded a while back but have no use for anymore. And instead of leaving download and email attachment folders unsupervised, you can delete files right away.
Step #6 – Subscribe to Streaming Platforms
Streaming platforms offer a better alternative to those who consume a lot of media. Instead of keeping large media files on the Macbook, you can subscribe to Netflix or Hulu’s services and watch your favorite TV shows and movies on demand.
Listening to music is also easy, thanks to Spotify and YouTube. In other words, there is no need to hoard media files on the computer when they are available online, with a few clicks. It is more convenient and a good way to free up the computer’s drive space.
Step #7 – Scan the System for Potential Viruses
Given the number of different computer viruses, it should not come as a surprise that there is also malware that eats drive space.
If you notice that there is less free storage every time you boot the Macbook, it may be that viruses and malware are the biggest cause behind it.
Use reliable antivirus software to scan the system. If the scan finds no corrupted files, you should be okay. On the other hand, any threatening files that antivirus software finds should be removed from the computer.
Step #8 – Transfer Data to External Storage Devices and Clouds
Your computer data management strategy can revolve around more than just deleting unnecessary files. Thanks to Dropbox and iCloud, you can transfer data to a safe location and access it when you need to.
External storage devices are also worth a shout. Memory sticks and external hard drives are quite cheap nowadays, meaning that you can get them for a good deal.
Step #9 – Consider Reinstalling the OS

If you are still unhappy with the results, reinstalling the operating system is one final option. The process may take some time, but finishing it will give the computer a fresh start.
In case you have never reinstalled macOS before, ask someone for help or look for in-depth guides online.
My Name is Hazel. I like to write about , finance, Tech, Software’s & more. Other then that i love football & travelling new places.


